The short answer
How do you carve alabaster safely and get a polished result?
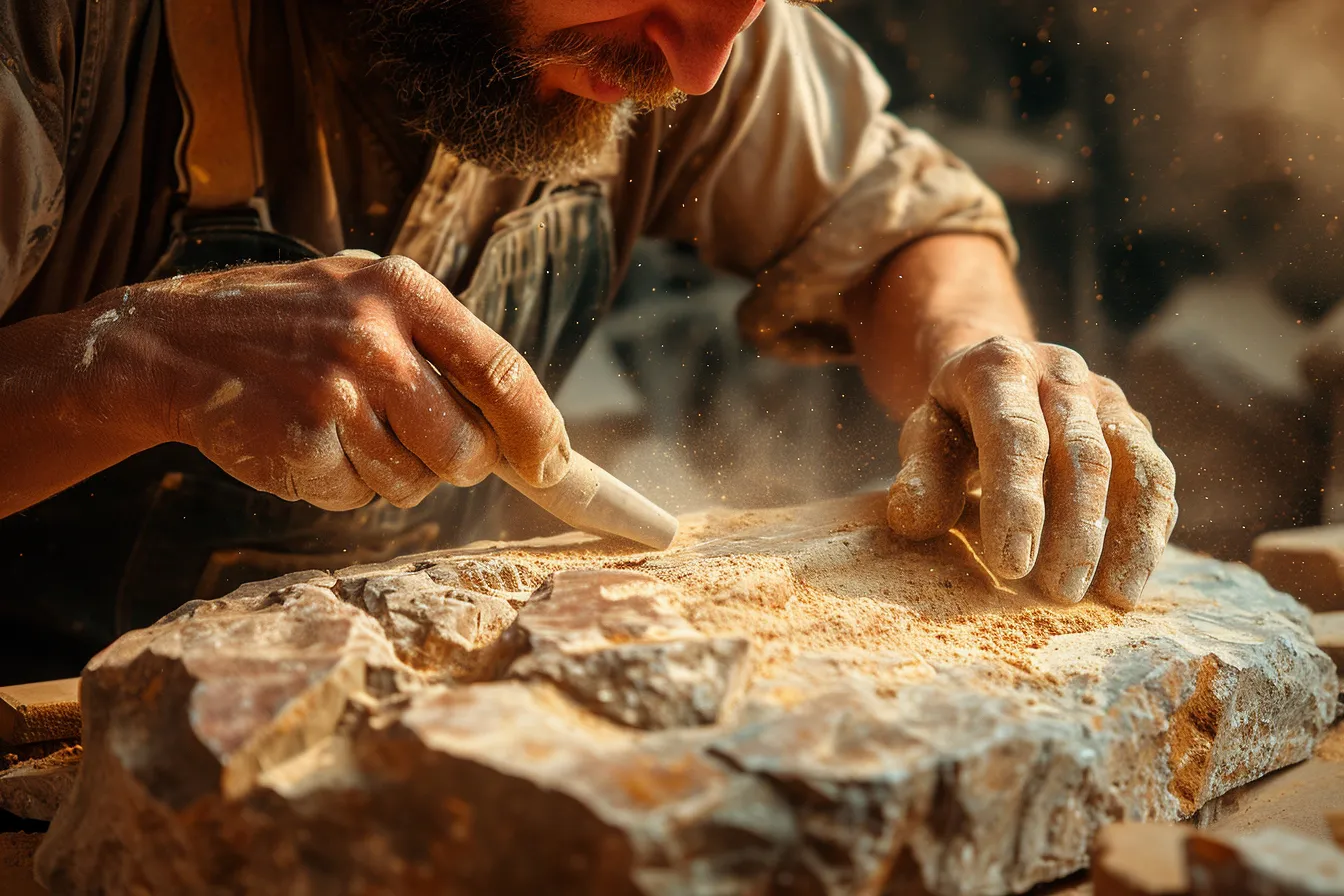
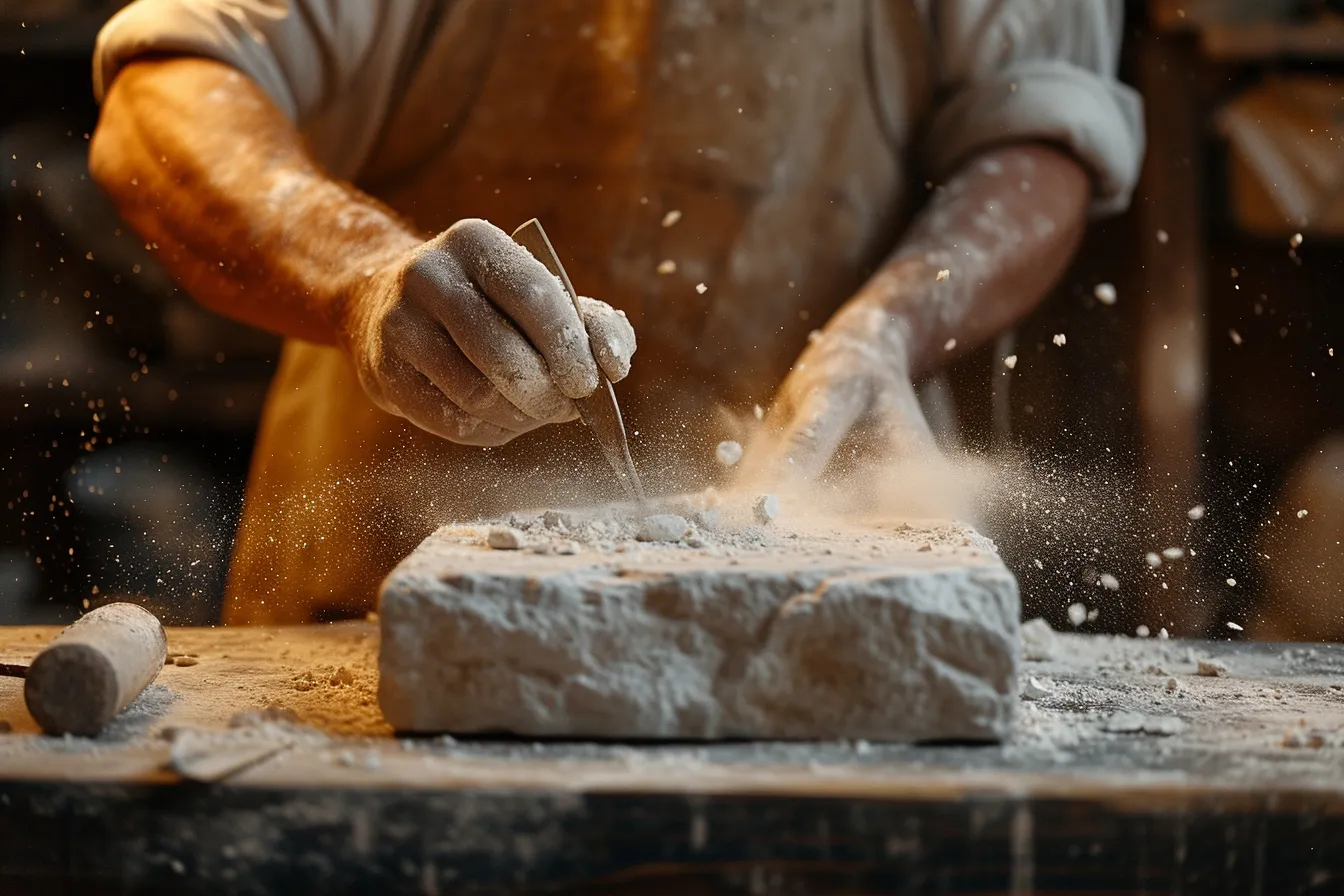
Begin with a small, sound block of clearly identified alabaster and a simple shape that keeps plenty of material around narrow parts. Secure it on a padded work surface, control dust with outdoor work or local extraction, wear sealed eye protection and a suitable particulate respirator, then remove stone gradually with soft-stone chisels, rasps, and dry abrasives. Finish only after every tool mark and scratch is gone.
What we found
- “Alabaster” can mean gypsum alabaster or calcite alabaster; ask the supplier which one you have, because gypsum is much softer and should not be wet-sanded.
- Use a padded cradle, sandbag, or timber stop to support the block. Most broken alabaster sculptures fail because a thin area was left unsupported while it was being worked.
- For initial shaping, a small stone-carving hammer, carbide-tipped or hardened-steel soft-stone chisels, and rasps give more control than an aggressive rotary tool.
- Carving and sanding create fine mineral dust. Work outdoors or with local dust extraction, wear proper eye protection and a particulate respirator, and never clean the bench with compressed air.
- A convincing polish begins during carving: remove each deeper scratch completely before moving to a finer abrasive, then use a restrained wax finish if the stone needs one.
- Save undercutting, drilled openings, and delicate texture for the end, when the overall form is already resolved and the stone can still be supported.
A block of alabaster can feel forgiving on the first few cuts. It is softer than marble, accepts a file readily, and often has veins or cloudy passages that seem to suggest a finished object. That friendliness is also the trap. A rasp can erase a planned curve in seconds, a chisel blow can travel through a hidden seam, and a hurried polish can lock in scratches that only appear when light passes through the stone.
The sensible first project is not a human figure with ankles, a pierced lantern, or a bowl carved deeply from one face. Choose a palm-sized abstract form, a low relief, a pebble-like animal, or a simple leaf. It should have broad transitions, no projecting parts, and a base that can stay flat until late in the process. The aim is to learn how the material cuts, not to force it into a difficult design.
Know which alabaster is on your bench #
In carving shops, alabaster commonly means two quite different materials. Gypsum alabaster is the familiar pale, softly translucent stone made chiefly of hydrated calcium sulfate. It is very soft, often around Mohs 1.5 to 2, and is easily damaged by water and rough handling. Calcite alabaster, also sold as Egyptian alabaster or onyx marble, is mainly calcite and appreciably harder, around Mohs 3. It has its own attractive banding, but it does not behave exactly like gypsum alabaster.
Do not rely on a shop label alone if the carving plan depends on it. Ask the supplier what the block is and whether it has been stabilized or treated. Keep gypsum alabaster dry: do not soak it, wet-sand it, or leave it in a damp garden studio. Calcite tolerates water better, but both materials benefit from a cautious dry finishing routine when you are learning. Neither is a carefree outdoor stone; weather, frost, and pollution can spoil a carefully finished surface.
Gypsum alabaster offcut
Best forA first small carving or relief
- Very easy to shape by hand
- Often translucent
- Affordable practice material
- Scratches and dents easily
- Must be kept dry
- Hidden seams can be fragile
Gypsum alabaster block
Best forA planned small sculpture with a simple silhouette
- More room to establish a form
- Broad faces reveal light well
- Works with hand tools
- More material to remove
- Heavier to support safely
- A crack may be deeper than it looks
Calcite alabaster block
Best forA maker ready for slower cutting and banded color
- Harder, more durable surface
- Often dramatic banding
- Can take crisp detail
- Takes more effort to shape
- Pattern can distract from form
- Still unsuitable for careless outdoor exposure
Choose the starting material to match the first project
Set up for controlled cuts, not heroic force #
A stable setup matters more than a large collection of tools. Work at a stout bench or table with the block held in a shallow timber tray, a sandbag, or a padded vise with broad wooden jaws. The stone must not rock, but it must not be squeezed hard enough to crack. Arrange the work so the face being cut is supported from beneath. When you need to turn it, stop and re-seat it; trying to hold a block with one hand while chiseling with the other is how edges chip and fingers get struck.
The small tool kit that does real work
| Tool | Best use | What to look for | Avoid |
|---|---|---|---|
| Small stone-carving hammer | Light chisel strikes | Comfortable head, controlled weight | A heavy masonry sledge |
| Point chisel | Breaking high spots and rough planes | Carbide-tipped or quality hardened steel | Driving it deep beside a thin edge |
| Flat or tooth chisel | Leveling broad areas and defining planes | Narrow, sharp working edge | Wood chisels, which can bind or be damaged |
| Half-round rasp and rifflers | Fairing curves and reaching recesses | Sharp-cut rasps sized to the work | Coarse construction rasps on delicate areas |
| Abrasive papers or sanding mesh | Removing scratches in stages | Several clearly labeled grits | Skipping straight from coarse paper to polish |
Wear wraparound safety glasses or sealed goggles from the first chisel strike; chips can travel sideways, not just forward. Fine dust is a separate problem. Carve outdoors where practical, or use local extraction that captures dust close to the work. A properly fitted particulate respirator rated for fine dust is appropriate for carving and sanding; a P100-class reusable respirator offers more filtration than a basic disposable mask when it fits correctly. Keep dust out of shared rooms, and use a HEPA-filtered vacuum or damp disposable wipes for cleanup-never compressed air or a household broom.
Find the form before you chase the details #
Make a quick clay, cardboard, or plasticine maquette first, even for an abstract piece. Turn it in your hands and draw its front, side, and top outlines on paper. Those views expose a common beginner’s error: making a recognizable outline from the front while leaving the sculpture too thick, too flat, or unrelated from every other direction. Transfer only the main boundaries to the block with pencil. Do not draw eyelashes, scales, or other details that will tempt you to work too soon.
Mark a safe silhouette
Draw the front and side profiles, leaving a visible margin outside the final line. Mark any vein, crack, or cloudy inclusion that needs to remain inside a thick part of the form.
Knock down the corners
With the block fully supported, use light point-chisel taps to turn the rectangular block into a rough multi-sided shape. Work toward the center, not outward toward a delicate edge.
Establish the largest planes
Use a flat or tooth chisel and then a rasp to make the front, back, and side volumes agree. Turn the piece frequently and compare it with the maquette from arm’s length.
Refine one transition at a time
Move from rasp to smaller riffler only after the broad form reads clearly. Blend a neck into a shoulder, or a curve into a base, before adding any local feature.
Delay vulnerable features
Drill, undercut, pierce, or thin an area only when the rest is essentially complete. Keep sacrificial thickness behind it as long as possible.
Inspect under raking light
Place a lamp low to one side and rotate the stone. Shadows reveal flat spots, rasp tracks, and abrupt ridges that diffuse room light can hide.
A point chisel is for removing high ground, not for excavating a hole. Hold it so the cutting action skims across the surface rather than plunging straight down, and use short, measured taps. On gypsum alabaster, many changes can be made with a rasp alone once the corners are gone. If the tool starts tearing out grains instead of leaving a controlled cut, reduce the force, change the angle, or move to a finer tool rather than striking harder.
Use drilling, undercutting, and texture without weakening the stone #
Undercutting makes a form appear to lift away from the background or gives a curve a shadow line. It also removes the supporting material that keeps alabaster intact. Begin with a shallow groove defining the shadow, then widen it gradually with a small riffler or narrow chisel. Stop often to inspect the remaining thickness from the side. A deep black-looking shadow is rarely worth a broken projection; a modest recess can read strongly once the piece is lit from the side.
For a drilled opening, secure the stone in its padded cradle and start with a small pilot hole. A hand drill or a variable-speed drill on a slow setting gives more feedback than a high-speed rotary tool; never use hammer action. Drill a short distance, withdraw the bit to clear dust, and approach from the opposite side if alignment matters. Do not drill a large hole next to an edge or across a visible fault. The heat, vibration, and wedging action can start a crack before the hole is complete.
Texture should describe the form rather than conceal a weak one. A toothed chisel can make parallel facets on a broad plane; a stiff rasp can create a deliberate matte field; a pointed tool can make sparse, shallow marks. Test the mark on an offcut first, then carry it in a consistent direction. Random pecking often reads as accidental damage. Keep texture away from transitions that need reflected light to explain their curve, and avoid packing dust into freshly textured recesses.
Sand in stages so the light can travel through the stone #
A polished alabaster surface is not simply a shiny one. The appeal comes from a surface even enough to admit and scatter light beneath it, while still preserving the form. Start sanding only when the final shape is settled. On gypsum alabaster, use dry abrasive paper or mesh and a dust extractor. Begin with the finest grit that will remove the marks left by your last tool-often a medium grit after rasps-and progress through several finer grades. Change the sanding direction slightly at each stage so the older scratches are easy to spot.
Do not advance until every scratch from the previous grit is gone. Hold the piece under a single bright lamp and rotate it: remaining coarse scratches flash as straight pale lines. Curves are best sanded with the paper supported by a soft backing such as folded felt or dense foam, not by a rigid fingertip that creates grooves. Keep sharp arrises crisp by backing the paper with a small flat block and taking only a few controlled passes.
Read mistakes before they become permanent #
The most common failure is overworking the front. A sculpture can look convincing from one chosen viewpoint while its back remains blocky and its sides pinch inward. Put the work on a turntable, lazy Susan, or folded towel that lets it rotate, then assess it in silhouette from several directions. Photographing it in plain side light is useful because a camera often reveals uneven volume more bluntly than the maker’s accustomed eye.
Another mistake is treating a crack as a cosmetic problem. If a fracture opens when you apply gentle pressure, if a section sounds loose, or if a seam runs through a narrow load-bearing area, stop carving. A professional stone conservator or experienced stone carver can assess whether a repair is appropriate and whether it will remain visible. Do not try to hide a structural problem with wax, filler, or a heavy coat of finish. A design change-lowering, thickening, or simplifying the form-is often the more honest solution.
Plan one small carving and let it teach the next one #
For a first serious exercise, buy a modest offcut from a reputable stone supplier, make a clay maquette no taller than your hand, and aim to finish it in a few calm sessions. Record what grit removed the rasp marks, where the stone chipped, and how its veins looked when backlit. Those observations are more useful than trying to memorize a universal recipe, because every block has a different grain, fault pattern, and degree of translucency.
Mastery in alabaster is not the ability to carve ever-thinner flourishes. It is the ability to see the whole volume, anticipate how a cut will change it, and stop while the stone is still strong. When you can move from chisel to rasp to abrasive without losing the form-and can decide that an inviting vein belongs in the design rather than fighting it-you are no longer merely removing material. You are making the light inside the stone part of the sculpture.
Take this with you
Key takeaways
- Choose a small gypsum alabaster offcut and a simple, well-supported shape for a first project; save pierced and thin forms for later.
- Ask the supplier whether the material is gypsum or calcite alabaster, then keep gypsum dry throughout carving, sanding, and display.
- Set up dust capture before making the first cut: use outdoor air or local extraction, sealed eye protection, a particulate respirator, and HEPA-safe cleanup.
- Use point and flat chisels, rasps, rifflers, and staged dry abrasives rather than trying to power-carve the entire sculpture.
- Judge progress by turning the piece under raking light, and leave drilling, undercutting, and final finish until the broad form is complete.
Questions readers also ask
Is alabaster a good stone for a complete beginner?
Yes, provided the first project is small and structurally simple. Gypsum alabaster cuts far more easily than marble or granite, so it teaches tool control without requiring brute force. Its downside is fragility: a beginner should avoid thin limbs, deep bowls, pierced designs, and anything that must survive outdoors. An offcut is an excellent way to learn how quickly the material changes.
Can I carve alabaster with a rotary tool such as a Dremel?
A variable-speed rotary tool can be useful for a carefully chosen small recess or a hard-to-reach area, but it should not be the main carving method. It removes soft stone surprisingly fast, creates substantial fine dust, and can leave scooped, nervous surfaces. Use local extraction, eye protection, and a suitable respirator. Learn the main form with chisels and rasps first.
How can I tell whether a crack in alabaster is serious?
A stable hairline that stays within a broad, non-load-bearing area may be an appearance issue rather than an immediate failure. A crack that opens, reaches an edge, surrounds a section, or crosses a thin neck, rim, handle, or projection is more serious. Stop working if the stone shifts or sounds loose. An experienced stone carver or conservator can judge repair options in person.
What is the best way to clean a finished alabaster sculpture?
Start with a soft dry microfiber cloth or a soft brush. For gypsum alabaster, avoid water, sprays, and household cleaners because moisture and chemicals can mark or soften the surface. Calcite alabaster should also be kept away from acidic cleaners, which can dull calcite. If a valuable or badly stained piece needs cleaning, consult a stone conservator rather than experimenting.
Can alabaster sculptures be displayed near a window?
Indirect window light can show alabaster beautifully, especially when light passes through a thinner area. Keep the piece away from rain, condensation, radiator heat, and a place where it can be knocked over. Strong direct sun is not usually needed to appreciate the translucency and may make a display area hotter. A stable plinth with a non-abrasive pad is a better investment than a bright spotlight.
Do I need to seal or wax alabaster?
No. A carefully sanded surface can be left unfinished, and that is often the safest choice for a first carving. A very thin wax can enrich color and make buffing easier, but it is optional and does not fix scratches, stains, or structural weakness. Test any finish on an offcut first, especially with gypsum alabaster, which can absorb products unevenly.
How we made this. Every piece in the archive is researched and written by the editorial desk, then checked against our editorial standards. We do not publish medical, legal or financial advice. Spotted something we got wrong? Tell us, we correct in public.