The short answer
How do beginners carve cedar wood safely and get clean results?
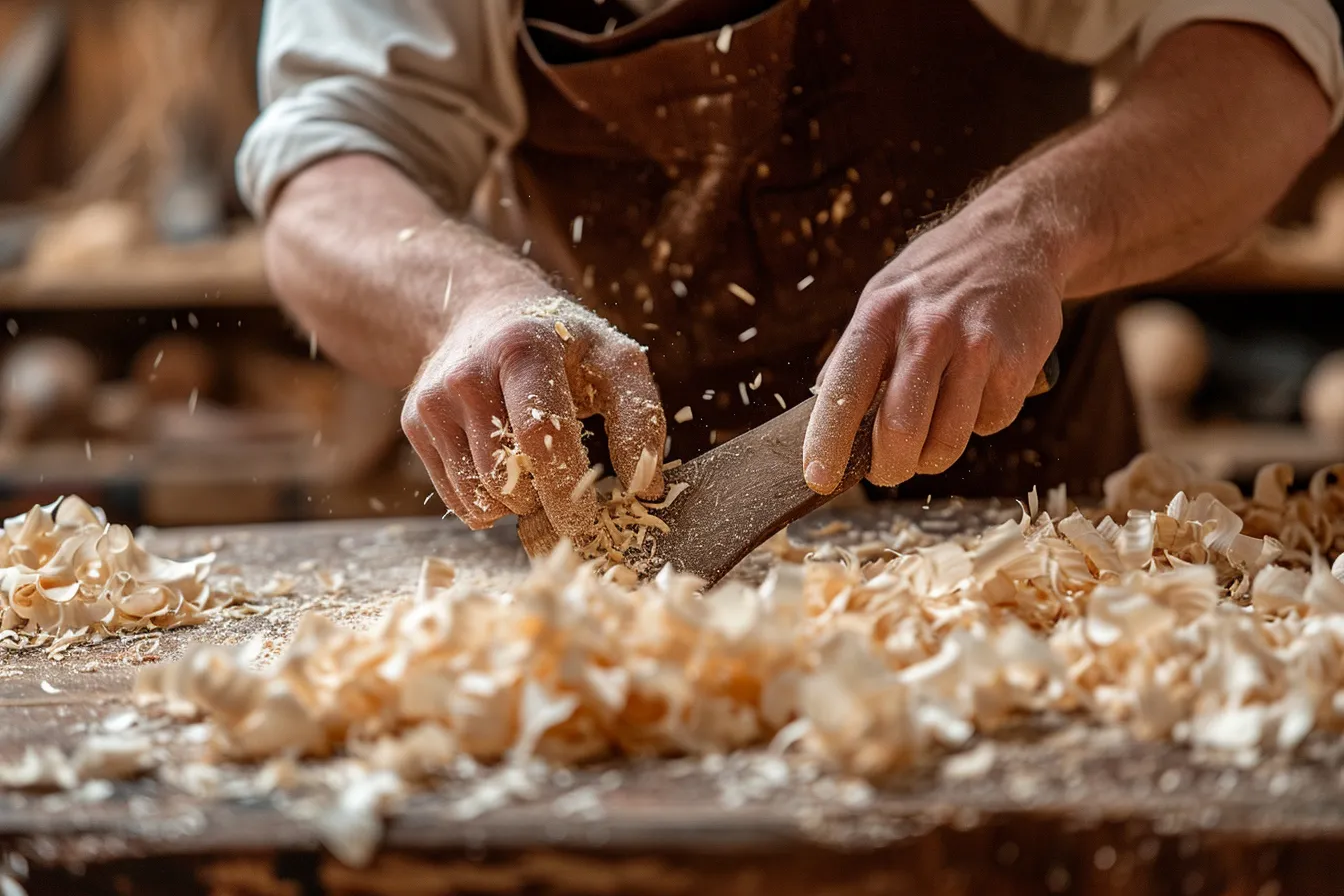
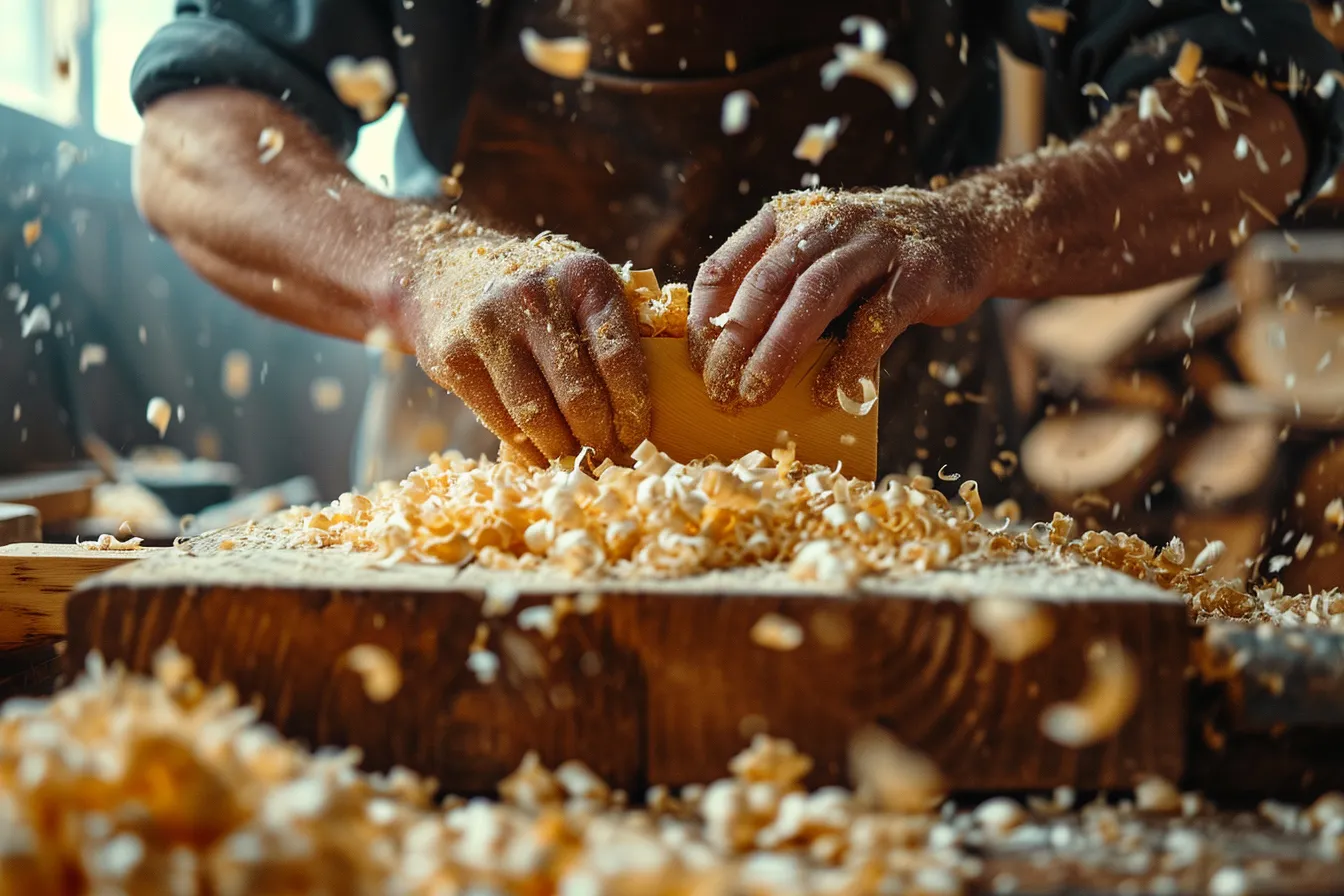
Begin with a clear, kiln-dried cedar board, clamp it securely, and use a sharp carving knife, shallow gouge, and V-tool to make small cuts that travel with-not against-the grain. Work from a simple drawn design, remove wood in layers, and stop often to inspect the surface. Control cedar dust with ventilation and a properly fitting particulate respirator when sanding.
What we found
- “Cedar” covers several woods: western red cedar is notably soft, while eastern red cedar is denser, more aromatic, and often knottier.
- A sharp edge is safer than a dull one because it cuts with light pressure instead of skidding or crushing cedar’s soft earlywood.
- The key technical skill is reading grain direction: make test cuts and carve downhill, toward the direction that leaves fibers lying flat.
- For a first project, shallow relief on a flat board is easier to control than a figure carved in the round.
- Cedar dust can irritate the eyes, skin, and airways; use local extraction or cross-ventilation, eye protection, and a properly fitting N95-class particulate respirator for dusty work.
- Buy clearly identified, untreated cedar from a responsible supplier, certified source, or known local salvage stream; avoid painted, pressure-treated, or mystery reclaimed wood.
Cedar makes an appealing first carving wood for a good reason: a sharp hand tool enters it without the wrestling match that maple, oak, or beech can demand. It also has a warm color, a distinctive smell, and enough natural weather resistance for many decorative uses. Those same qualities can mislead a beginner. Soft wood records every slip, its long fibers can tear out unexpectedly, and sanding creates a fine, aromatic dust that deserves real control rather than a quick brush-off.
The fastest route to a satisfying first piece is not an ambitious animal sculpture. It is a small, shallow relief-a leaf, feather, simple flower, initials, or geometric border-on a flat board. Relief carving keeps one face supported by the rest of the board, lets you concentrate on tool direction, and makes it possible to correct a cut before it becomes a broken-off wing, ear, or finger. Save deeply undercut forms for after you can predict how cedar will split.
Choose cedar by its behavior, not just its label #
At a timber yard, “cedar” is not a single carving material. Western red cedar (Thuja plicata) is the familiar lightweight, reddish-brown softwood sold for siding and outdoor work; straight-grained, clear pieces carve readily but can dent and fuzz. Eastern red cedar (Juniperus virginiana) is actually a juniper. It is often more strongly scented, usually denser, and commonly contains small knots and striking purple-red heartwood. Incense cedar is another distinct wood that may turn up in boards or pencil-stock offcuts. Ask the seller which species you are buying.
| Wood | What it carves like | Best first use |
|---|---|---|
| Western red cedar | Very soft; straight grain can still crush or tear | Large, simple relief and bold lettering |
| Eastern red cedar | A little firmer; aromatic, colorful, often knotty | Small plaques and pieces that use the color |
| Incense cedar | Fine, even texture; comparatively clean-cutting | Detail practice and modest relief work |
Choose a board that is dry, flat, and free from loose knots, checks, and bark pockets. For a first relief, a clear board about 19 mm (three-quarters inch) thick gives room for a background and raised design without requiring deep excavation. Look along both edges: the annual growth lines should run fairly straight rather than diving through the face. Buy a little extra length so you can make test cuts at one end. Avoid construction offcuts with unknown coatings or treatment, and never carve pressure-treated, painted, or chemically stained lumber.
Build a bench that holds the work and clears the air #
Carving becomes much safer when the wood, rather than the hand holding it, resists the cut. Clamp the board to a solid bench with the intended cutting area clear of the clamp jaws. A bench hook or low carving cradle is useful for small pieces, but it must not slide; add a non-slip mat beneath it or clamp it down. Put the light slightly in front of and to one side of the work. Raking light makes shallow ridges, torn grain, and pencil lines visible before they become permanent.
Start with four tools, not a crowded roll #
A modest set teaches more than a drawer full of unfamiliar profiles. Start with a fixed-blade carving knife or detail knife, a 10-12 mm shallow gouge, a 6-10 mm deeper gouge, and a 60-degree V-tool. Add a 12 mm flat chisel when you want especially crisp planes or background work. Brand sweep numbers are not perfectly identical, so choose by the visible curve: a shallow gouge makes broad, gentle hollows; a deeper gouge removes narrow channels. Buy tools with solid handles that fit your hand rather than the cheapest untempered set.
- Use the knife for outlining, trimming edges, and slicing small facets; it should cut cedar with controlled thumb pressure, not a hard shove.
- Use the shallow gouge for lowering a background and establishing gradual curves; roll it slightly as it travels to avoid a trench with hard shoulders.
- Use the deeper gouge for veins, grooves, and removing material in tighter places; take short overlapping cuts rather than trying to scoop deeply.
- Use the V-tool after the main shapes are established, for clean outlines and decorative lines; its two wings need to enter and leave the wood evenly.
Sharpen before the first cut. A carving tool that only scratches or leaves a pale, mashed surface is dull, even if its edge looks intact. Hone the bevel on an appropriate stone or abrasive, then strop until the edge slices cleanly across end grain in a scrap piece. Keep the bevel angle supplied by the maker rather than inventing a steeper one. Cedar is soft enough to tempt people into working with dull tools, but extra force is what sends a blade past the wood and into a hand.
Read the grain before every important cut #
Wood is a bundle of long fibers, not a uniform block. A cut that runs downhill presses those fibers into the piece and leaves a bright, clean surface. The same cut from the other direction gets under the fiber ends and lifts a splinter beyond your intended line. On cedar, the change can happen quickly around curves because the grain is not always straight beneath the face. Make a shallow test cut on spare material. If it raises fuzz or chips forward, reverse direction, reduce the cut depth, or approach the area from each side.
Prepare a small clear board
Plane or sand one face smooth, then clamp a board roughly 100 by 150 mm and 19 mm thick. Draw a bold leaf, feather, or simple flower, leaving at least 15 mm of plain border around the design.
Cut the boundary, shallowly
Hold the knife or V-tool so the bevel supports the cut and trace the outside line only 1-2 mm deep. On a curved shape, turn the board frequently instead of twisting your wrist into an awkward, uncontrolled cut.
Lower the background in layers
With a shallow gouge, remove wood outside the design in overlapping scoops. Work toward, not into, the outline. Stop at a modest depth at first; a background 3-4 mm lower than the design creates a clear shadow without weakening it.
Shape the raised form
Round a leaf center slightly with a shallow gouge, then cut its central vein with the V-tool. Make side veins shorter and shallower as they reach the edges. Let every groove taper out rather than ending as a blunt stop.
Refine with the grain
Inspect under side light. Pare away high ridges with the knife, reverse any cut that starts to lift a fiber, and leave clean tool facets where they suit the design. Do not sand away detail that a sharp tool can preserve.
Use body position as part of the cutting technique #
Most hand-tool accidents happen when a blade exits the wood and meets the hand, thigh, or other body part placed in its path. Sit or stand so every foreseeable slip travels into open space or a sacrificial bench stop, never toward you. Keep the supporting hand behind the cutting edge. A cut-resistant carving glove and thumb guard on the non-cutting hand provide useful backup for close work, but they do not make an unsafe cutting direction safe. Do not wear loose gloves near any rotating drill, sanding drum, or other powered machine.
Use two hands deliberately. For a push cut, brace the tool handle in one palm and guide the blade with the other thumb while keeping that thumb behind the edge. For a controlled stop cut, plant the heel of the hand holding the tool against the work or bench so the motion cannot leap forward. A light wooden mallet is appropriate for larger gouges and broad background removal, but not for delicate outlining. If you need a mallet merely to make a small cedar cut, sharpen first.
Finish cedar without burying the carving #
A finished surface should serve the object, not disguise rough carving. For an indoor decorative relief, a careful final pass with sharp tools may be all it needs. If sanding is necessary, use a small backing block on flat background areas and fold the paper for controlled access; loose fingers round over crisp borders and erase V-tool lines. Sand only enough to remove fuzzy fibers, moving through progressively finer abrasives rather than jumping straight to a very fine grit. Remove all dust before testing any finish on an offcut.
| Approach | Works well for | Watch for |
|---|---|---|
| Leave it bare | Indoor pieces with crisp tool marks | It will collect handling marks and dust |
| Thin wax finish | Small indoor ornaments and plaques | Can soften fine detail if applied heavily |
| Clear film finish | Pieces needing a more sealed, even sheen | Test first; thick coats can pool in recesses |
| Exterior-rated finish | Outdoor decorative carvings | Coat back and end grain too, and expect maintenance |
Recognize the problems that make a carving look amateurish #
Torn grain is the usual culprit, not a lack of artistic talent. It looks like a ragged, dull patch with fibers lifting in one direction. Correct it by cutting from the opposite side with a freshly honed edge, or by making a shallow stop cut before removing the adjacent material. Crushed grain looks shiny and compressed rather than torn; it comes from a blunt edge or too much pressure. A small amount can sometimes be pared away, but sanding often polishes the damage instead of restoring the surface.
- Avoid drawing every detail before you establish the large shape. A crisp silhouette and a clearly lowered background read better than many shallow scratches.
- Avoid symmetrical designs that are measured only by eye. Mark a centerline and key widths with a ruler before cutting both sides.
- Avoid deep, vertical walls around a raised shape. Give the transition a slight slope so cedar fibers remain supported.
- Avoid fixing each imperfection as soon as you see it. Finish the major forms first; an apparent bump may disappear once the surrounding wood is lowered.
Buy and practice in a way that respects the material #
Cedar lasts longer in the landscape than many softwoods, but that is not a reason to treat it as disposable. Buy from a supplier that can identify the species and origin. Third-party forest certification, such as FSC or PEFC, can be one useful signal, and local mill offcuts from a known source can be excellent carving stock. Reclaimed cedar is worthwhile only when you know it has not been painted, treated, or contaminated and have removed every nail, staple, and grit. A hidden fragment of metal can ruin an edge in one stroke.
For your next action, buy one clear board and spend its first section on a test panel: cut parallel and across the grain, make V-lines at different depths, and practice lowering a square background. Then carve the leaf relief. Mastery does not mean every surface is sanded smooth. It means you can see a grain change coming, choose a safe direction and tool, and leave deliberate marks where you want them. Keep the test panels dated; they become a more honest record of progress than a single finished piece.
Take this with you
Key takeaways
- Choose a known cedar species and a clear, flat, untreated board before buying tools or drawing a design.
- Set up a clamped, well-lit workstation with real dust control before sanding or using any powered accessory.
- Begin with a knife, two gouges, and a V-tool, maintaining their edges instead of forcing dull blades through soft wood.
- Make a shallow relief first, and let test cuts-not guesswork-tell you which direction the grain will accept.
- Leave or finish the surface according to where the piece will live, after testing the effect on an offcut.
Questions readers also ask
Can I carve cedar while it is still green?
You can, but it is less predictable for a first project. Fresh-cut cedar is easier to remove in broad cuts, yet it can shrink, warp, and check as it dries, especially if one side dries faster than the other. For small relief carving, stable kiln-dried stock is the simpler choice. If you experiment with green wood, use a thick, simple form and expect movement rather than trying to preserve exact dimensions.
Can I use a rotary tool for cedar carving?
A rotary tool can make recesses and texture quickly, but it also creates much more fine dust and can remove soft cedar faster than expected. Start with hand tools so you learn grain direction and depth control. If you later use a rotary tool, clamp the work, wear eye protection and a properly fitting particulate respirator, use dust extraction, and practice on offcuts before approaching a finished carving.
How do I transfer a drawing onto the wood?
For a simple design, draw directly on a lightly sanded face with a pencil. For a printed pattern, place carbon or graphite transfer paper between the pattern and board, tape one edge as a hinge, and trace the major lines with a blunt pencil. Transfer only the silhouette, centerlines, and a few essential interior marks. Dense traced detail tends to become confusing after carving begins.
Why does my cedar carving look fuzzy after sanding?
Cedar’s softer earlywood can abrade faster than its denser latewood, leaving raised fibers or shallow ridges. A dull tool can also bruise fibers that later stand up when sanded. Return to a sharp knife, gouge, or scraper for the final surface where possible. If you must sand, use light pressure with a backing block, clean the dust away, and avoid repeatedly rubbing the same soft area.
Should an indoor cedar carving be sealed?
Not necessarily. A dry indoor carving can be left bare if you like its natural color and tool marks. A light finish can make cleaning easier or adjust the sheen, but it is a design choice rather than a requirement. Test any product on the same wood first because cedar’s color and natural extractives can change the result. Keep finish out of fine grooves by applying thinly and wiping excess promptly.
How should I store cedar boards and unfinished carvings?
Store them flat, supported along their length, in the same reasonably dry environment where you plan to carve. Keep boards off a concrete floor and away from direct sun, radiators, and damp exterior walls, which can cause uneven moisture change and cupping. Stack spare boards with thin spacers between them so air reaches both faces. Protect unfinished carvings from dents with paper or cloth rather than airtight plastic.
How we made this. Every piece in the archive is researched and written by the editorial desk, then checked against our editorial standards. We do not publish medical, legal or financial advice. Spotted something we got wrong? Tell us, we correct in public.