The short answer
How can I get better results when cooking on a BBQ grill?
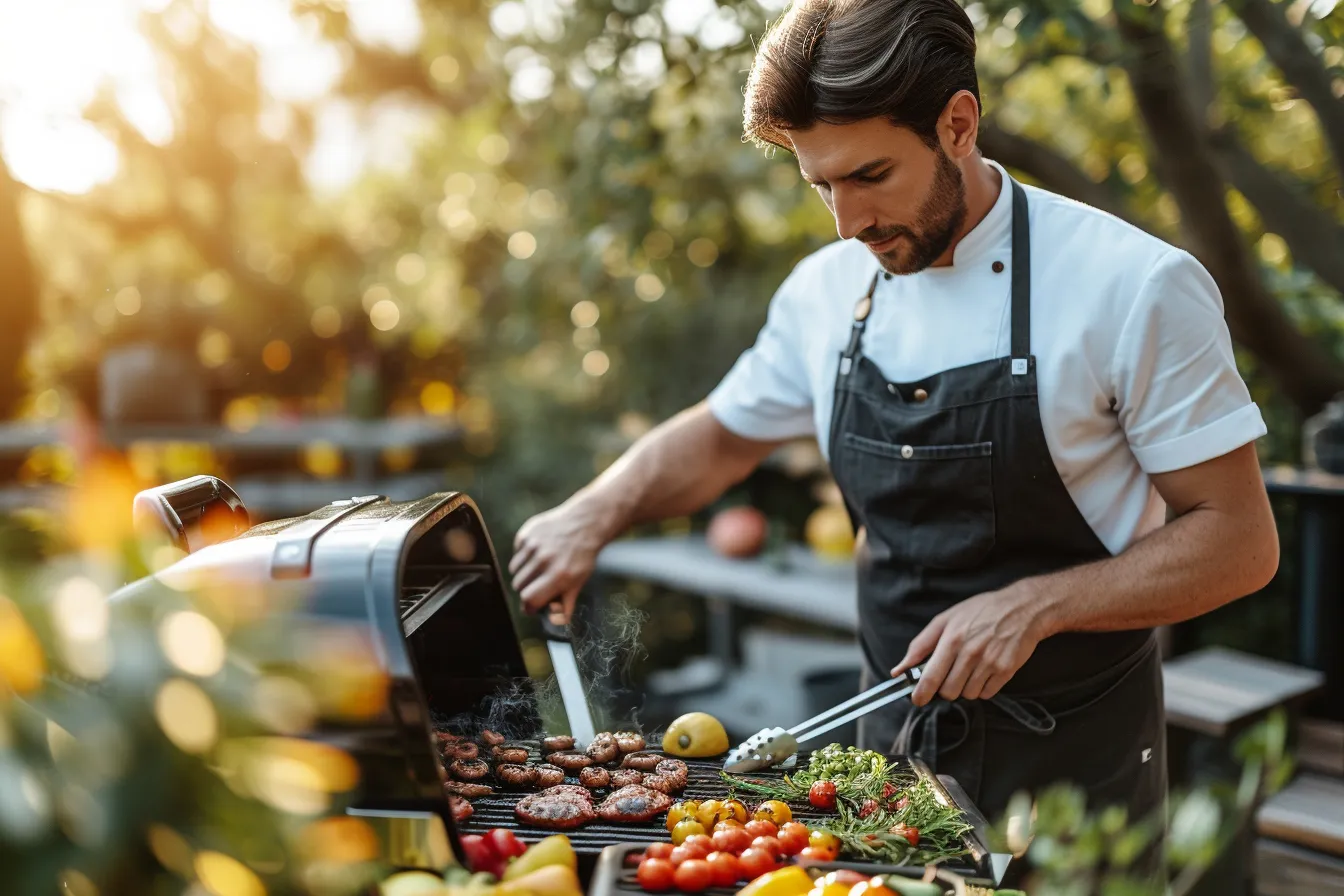
Set up a hot direct zone and a cooler indirect zone, then move food between them instead of trying to cook everything over one fire. Preheat and clean the grate, cook by internal temperature with an instant-read thermometer, and use a clean-burning fire for smoke. Keep raw food separate from cooked food, manage grease before it flares, and treat fire safety as part of every cook.
What we found
- A two-zone grill gives you a place to sear and a place to finish food gently, which prevents burnt outsides and undercooked centers.
- An instant-read thermometer is more reliable than color, grill marks, or a recipe’s cooking time; safe temperature is the floor, while tenderness and browning determine the finish.
- Clean smoke comes from a well-lit fire with enough airflow. Thick, stale-smelling smoke usually makes food bitter rather than more flavorful.
- Dry surfaces, a fully heated grate, and brief contact with high heat create a better crust than repeated flipping or dramatic flare-ups.
- Gas and charcoal grills both need active safety habits: outdoor-only operation, clearance from buildings, grease management, and a plan for a fire.
The difficult part of barbecue is not lighting the grill. It is managing several things that change at once: a fire that gets weaker or stronger, food that heats from its surface inward, fat that can drip and ignite, and a grate with hotter and cooler patches. A steak can look impressively striped and still be cold near the bone; a rack of ribs can be technically cooked but dry, smoky, and tough. Good grilling is the practice of noticing those differences early enough to act on them.
Start by separating two jobs that are often confused. Grilling is fast cooking over direct radiant heat: burgers, asparagus, shrimp, thin chops. Barbecue in the low-and-slow sense uses indirect heat and wood smoke to cook larger or tougher cuts over time. Most backyard cooks use both methods in the same session. The useful question is not whether charcoal, gas, or pellets are “best,” but whether your cooker can give the food the kind of heat it needs.
Choose a cooker for the control you actually need #
Charcoal rewards attention. A kettle grill with adjustable bottom and top vents can sear hard, roast indirectly, and smoke with a modest amount of fuel, but its heat responds gradually to vent changes. Gas grills are quick to start and make weeknight temperature control simple; turn one burner off and they become effective indirect cookers. Pellet cookers excel at steady, smoke-friendly indirect cooking, though a dedicated hot zone or cast-iron pan may be better for an intense final sear. Electric grills are useful where permitted but have a narrower heat range.
Charcoal kettle grill
Best forCooks who enjoy live-fire flavor and versatility
- Strong searing heat
- Easy two-zone layout
- Works with wood chunks
- Slower to light
- Temperature changes take patience
Gas grill
Best forFrequent, practical grilling of mixed foods
- Fast ignition and preheat
- Separate burner zones
- Simple mid-cook adjustments
- Needs leak checks and burner care
- Smoke flavor takes an accessory or technique
Pellet grill
Best forLong indirect cooks with steady heat
- Consistent temperature control
- Convenient wood smoke
- Low hands-on tending
- Needs electricity and dry pellets
- Many models have modest direct searing power
What each common grill setup does especially well
Build two heat zones before food goes on #
A two-zone setup is the single most useful arrangement on a covered grill. One side is direct heat, where food sits above coals or lit burners. The other side has no coals beneath it, or its burners are off: that is the indirect zone. With the lid shut, it works like a small outdoor oven. Food can escape a flare-up, thick pieces can finish without scorching, and you can hold cooked items warm while another batch sears. Even a small grill benefits from this division.
Clear the grill and check the airflow
Empty old ash from the bowl, make sure the bottom vents can move, and set the cooker on a noncombustible, level surface. Ash restricts airflow, which leads to a weak, dirty-burning fire.
Light charcoal in a chimney starter
Fill a chimney with the amount of charcoal suited to the cook and light it with a suitable fire starter underneath. Do not use gasoline, alcohol, or improvised accelerants. Wait until the top coals are mostly ashed over.
Bank the coals to one side
Pour the lit charcoal onto one half of the charcoal grate. For a long cook, place unlit charcoal beside it so the lit coals can gradually ignite the next fuel rather than consuming everything at once.
Put a drip pan on the cool side
Set a shallow disposable or reusable metal pan under the indirect zone if the grill design allows. It catches fat, reduces messy flare-ups, and makes later cleanup much easier.
Preheat with the lid closed
Install the cooking grate, open the vents, and let the grate heat thoroughly. A hot grate releases food more readily and lets you judge the cooker before expensive food is sitting on it.
Cook with the lid as a tool
Sear over the coal side, then close the lid and move food to the cool side to finish. On a kettle, the top vent positioned above the food helps draw heat and smoke across it.
Cook by temperature, then judge texture and color #
A fast instant-read thermometer changes grilling more than almost any accessory. Insert it into the center of the thickest part, avoiding bone, a skewer, or the hot grill grate. Check several spots on uneven pieces such as chicken thighs or a thick burger. Time is only an estimate because wind, lid opening, starting food temperature, grill design, and thickness all vary. For large roasts, a leave-in probe is useful; verify its reading near the end with an instant-read thermometer if you can.
| Food | Minimum internal temperature | Important detail |
|---|---|---|
| Whole beef, pork, lamb, and veal cuts | 145°F / 63°C | Rest for at least 3 minutes |
| Ground meat | 160°F / 71°C | Includes burgers and fresh sausage |
| Poultry, including ground poultry | 165°F / 74°C | Check the thickest portion |
| Fish | 145°F / 63°C | Flesh should be opaque and separate easily |
Make smoke taste clean instead of bitter #
Wood flavor comes from compounds carried in smoke, but more smoke is not automatically better. Aim for a fire that is properly lit and receiving enough air. The best smoke can be a light blue haze or nearly invisible; it smells like a clean wood fire, not like a smoldering ashtray. Dense white or gray clouds often mean wood is struggling to burn, grease is burning, or airflow is restricted. In that state, food can develop a bitter, sooty surface before the inside has cooked.
Use dry hardwood chunks with charcoal, placing one or two among the hot coals rather than making a pile of wood. Fruit woods such as apple or cherry tend to be mild; hickory and mesquite can dominate quickly, especially on poultry or fish. On a gas grill, use a purpose-made smoker box over a lit burner, and begin with a small amount of chips. Soaking chips is not a shortcut to better smoke: it delays their heating and adds steam. Let the fire establish itself before putting food in the path of the smoke.
Sear for a crust, then use gentler heat for the center #
A good sear is a dry, well-browned surface, not black stripes laid over a pale exterior. Pat food dry before seasoning, preheat a clean grate, and give the food time to release before trying to turn it. If it tears when lifted, the surface has probably not browned enough or the grate was not hot and clean. For thick steaks, chops, and dense vegetables, cook most of the way on the indirect side, then finish over the hot side. This reverse-sear approach gives the center time to heat evenly before the final crust.
- For a thin steak, burger, skewer, or shrimp, stay mostly over direct heat but move pieces off the flame as soon as fat causes repeated flare-ups.
- For a steak or chop thicker than about 1½ inches, use indirect heat first, then sear briefly at the end. Rest it after cooking so juices redistribute and carryover heat settles.
- For chicken with skin, begin indirectly to cook the thicker meat without burning the skin, then crisp the skin over direct heat while watching closely.
- For delicate fish, clean and oil the grate lightly, leave the fish undisturbed until it releases, and use a fish basket or a perforated grill pan when fillets are fragile.
Season early, sauce late, and protect the surface #
Salt has time to do useful work when applied several hours ahead of a large cut and held covered in the refrigerator; it seasons beneath the surface and helps the exterior dry. A simple dry rub can add paprika, black pepper, chile, garlic, herbs, or brown sugar, but sugar burns quickly over strong heat. Put sweet sauces on near the end, when their job is to glaze rather than withstand a long sear. Keep a clean portion of sauce for serving instead of returning a brush used on raw meat to the bowl.
Maintain the grill so its hot spots are predictable #
A grill that is sticky with carbon and old grease gives unreliable results. After a cook, let the grate cool enough to handle safely, then use a bristle-free grill scraper or other tool intended for the grate; loose wire bristles are a poor risk around food. Empty grease trays before they overflow, clear charcoal ash only when it is completely cold, and check that gas burner ports are not blocked. On gas grills, inspect hoses, fittings, and the igniter at the start of the season and whenever the grill has been moved.
Run the grill safely from ignition to cleanup #
Before lighting a gas grill, open the lid so gas cannot collect underneath it. Check connections with a soapy-water solution rather than a flame; growing bubbles signal a leak. If you smell gas, turn off the controls and cylinder valve if it is safe to do so, move away from the grill, and have the equipment checked before using it. Follow the manufacturer’s lighting sequence. If the grill fails to light, turn the controls off and allow gas to disperse before attempting a restart as directed in its manual.
- Keep a suitable fire extinguisher nearby and know how to use it. For a small grease flare-up, move food away if possible, turn off gas burners when safe, and close the lid to limit oxygen. Never throw water on a grease fire or open the lid repeatedly to inspect it.
- Keep children, pets, loose sleeves, and play clear of the cooking area. Use long-handled tools and heat-resistant gloves for moving hot grates, pans, or charcoal.
- Use separate plates and tongs for raw and cooked food, or wash tools thoroughly between tasks. Refrigerate perishable food promptly; the usual limit at room temperature is two hours, reduced to one hour in very hot weather.
- Let charcoal burn out safely in the grill, then place only completely cold ash in a metal container with a lid. Do not put ash in plastic, cardboard, or near dry leaves, and do not leave a hot grill unattended.
Make your next cook a useful practice session #
Choose one forgiving cook-bone-in chicken thighs, sausages, thick slices of zucchini, or pork chops-and set up two zones before you begin. Note where the hottest part of your grate really is, use the indirect side at least once, and take temperatures rather than guessing. Change only one variable on the next cook: wood amount, vent position, sauce timing, or searing time. Mastery is not a permanent grill setting. It is being able to look at the fire and the food, recognize what is happening, and make the next sensible move.
Take this with you
Key takeaways
- Choose a grill setup that can create both direct and indirect heat; that matters more than chasing a particular fuel type.
- Use an instant-read thermometer and the safe minimum temperatures as your non-negotiable baseline.
- Add wood in small amounts to a well-burning fire, and reject thick, bitter-smelling smoke rather than waiting for it to improve.
- Use indirect heat to cook thick food through, then apply high direct heat only long enough to brown the outside.
- Plan fire control, grease handling, and raw-food separation before lighting the grill, not after a flare-up begins.
Questions readers also ask
Can I grill when it is raining or cold outside?
You can cook outdoors in cool or wet weather if the grill remains in an open, well-ventilated location and is on stable ground. Expect longer preheating and more fuel use, especially with charcoal. Do not move the grill into a garage, doorway, tent, or covered enclosure to escape the weather. Keep the cook surface dry enough to prevent slips, and protect electrical connections on pellet or electric grills as their manuals require.
How do I stop food from sticking to the grill grate?
Start with a thoroughly clean, fully preheated grate. Pat the food dry, especially fish, chicken skin, and marinated items, then use a light coating of high-heat cooking oil on the food rather than pouring oil onto the fire. Put the food down and leave it alone until a browned surface forms and releases naturally. A fish basket or perforated grill pan is a practical choice for delicate fillets.
Can I add wood smoke to a gas grill?
Yes. Put a small amount of dry wood chips in a smoker box made for gas grills and place it over a lit burner. Let the chips begin smoking before the food goes on, then cook with the lid closed when practical. Avoid scattering loose chips around burners or using a foil packet where it could obstruct burner operation. Start small: gas grills can trap enough smoke to overwhelm food quickly.
Why does my charcoal grill struggle to get hot?
The usual cause is restricted airflow, not a shortage of charcoal. Empty accumulated ash, open the vents, make sure the lower vent is not blocked by fuel, and use dry charcoal. A chimney starter gets coals burning more evenly than lighting them in a pile. Wind, a cold cooker, and a crowded grill can also reduce apparent heat. Do not compensate with flammable liquids or by operating the grill somewhere enclosed.
Should I keep the lid open or closed while grilling?
Use the lid closed whenever you want the grill to behave like an oven, especially for thicker food, indirect cooking, and smoke cooking. Open-lid cooking is useful for very fast foods that need frequent turning, but it loses heat and feeds oxygen to a charcoal fire. On a gas grill, cooking with the lid closed also helps preheat the grate and reduces cooking time. Open it only as long as the task requires.
How can I tell whether a propane cylinder is running low?
A propane gauge can be convenient, but weighing the cylinder against its stamped tare weight is generally more dependable. The difference is the fuel remaining. Avoid guessing by shaking the cylinder or pouring hot water over it. Keep cylinders upright outdoors, away from heat and ignition sources, and have a damaged, corroded, or leaking cylinder handled by a qualified supplier rather than trying to repair it yourself.
How we made this. Every piece in the archive is researched and written by the editorial desk, then checked against our editorial standards. We do not publish medical, legal or financial advice. Spotted something we got wrong? Tell us, we correct in public.